Animating Metal Content with CoreAnimation
December 9, 2019
Update (12/26/2019): A previous version of this post incorrectly stated implict animations happen in layers which back
UIViews. Actually, layers which backUIViews don't have animations unless you implement the view'saction(for:forKey:)method. More information is available in this github repo.
Recently, I've been learning more about Metal - I'm still working through the basics, but I've written a couple of posts and tweets about it, and I'm about halfway through Metal By Example. Up until now I've mostly been coding sample projects, but I recently had the opportunity to prototype a Metal implementation integrated into our production app at work.
One thing I hadn't considered until I had to implement Metal in a real app was animations - when another part of our interface animated, we wanted to scale the Metal content along with an animation. This post will dive into how to adapt the CALayer animation system to work with a custom Metal view, and along the way we'll see a situation which Swift can't handle without hacks. (😱)
Our goal will be to build a triangle that animates to a new scale when a button is pressed:
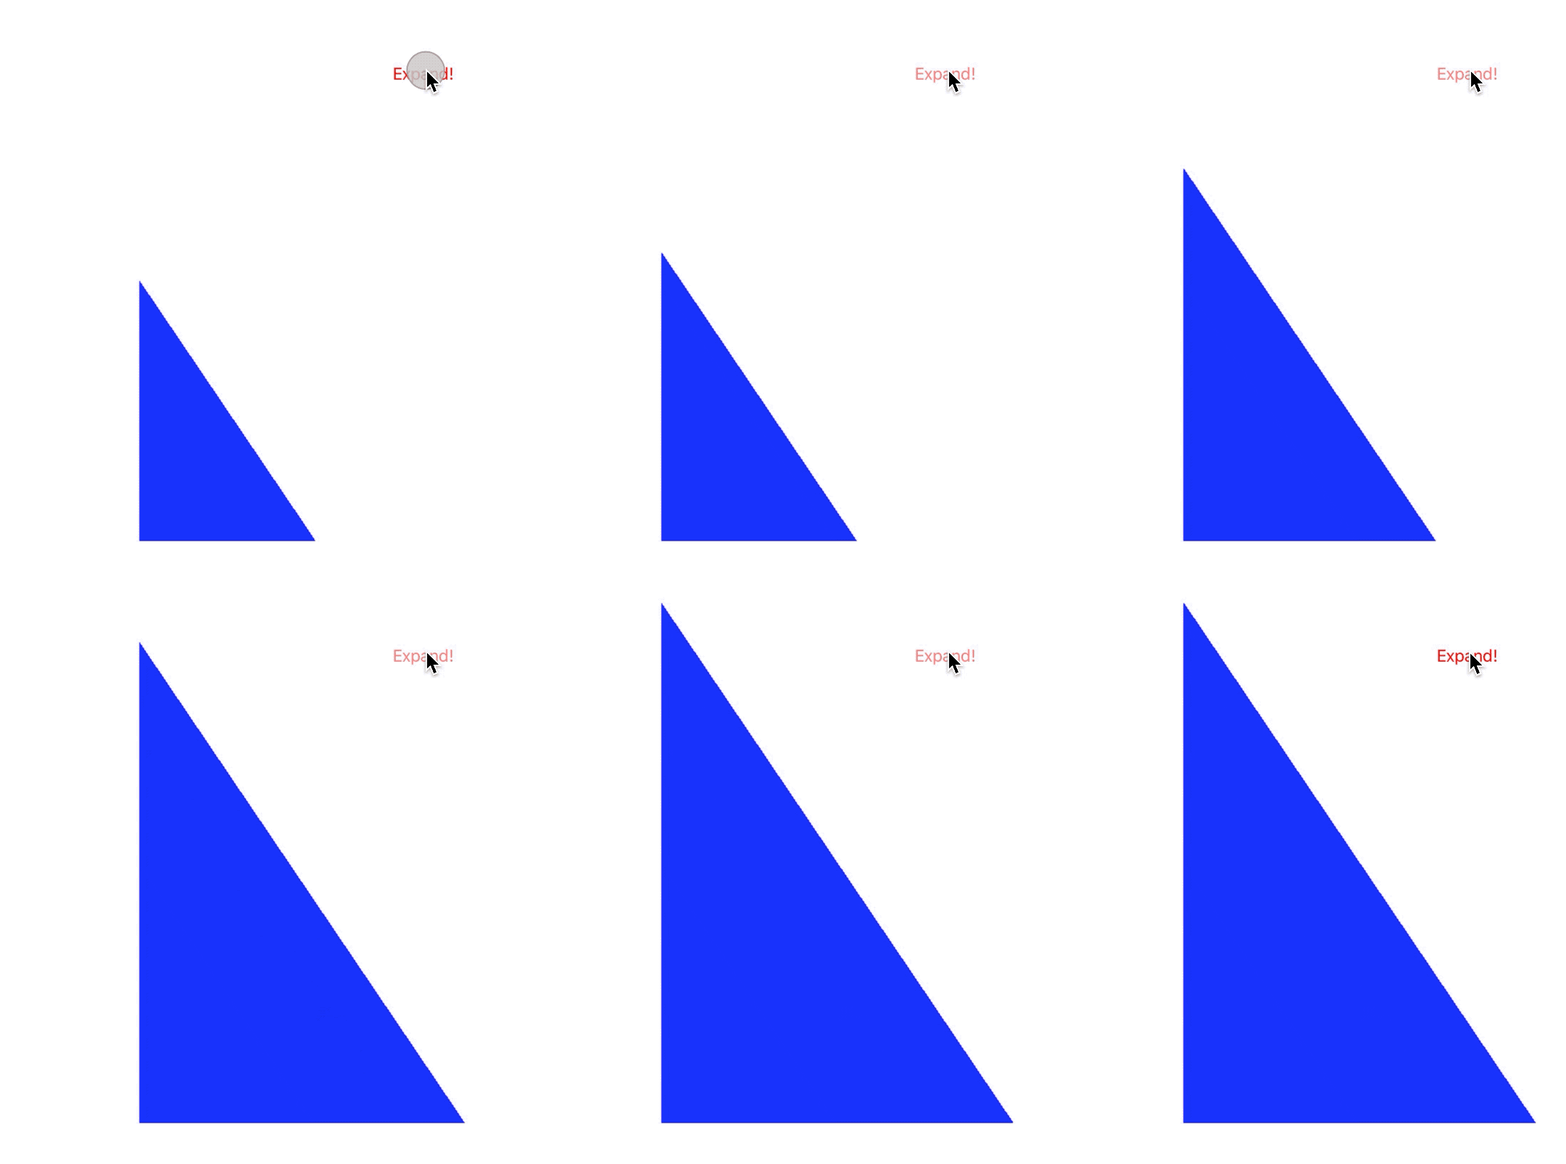
Full sample code is available for this project at NGCAMetalLayerAnimationExample.
Getting started
Our sample project will follow the architecture adapted from the Xcode default Metal project (what Xcode gives you after New Project > Cross Platform Game):
- We'll have a
Rendererwith adraw(drawable:)method which is responsible for issuing Metal draw calls with thedrawableas a target. The renderer will have atriangleScaleproperty to determine what transform to the triangle's vertices. - We'll have a custom view with a
CAMetalLayersubclass, and we'll override the layer'sdisplay()to calldraw, passing the drawable fromnextDrawable.
Note: we need a
CAMetalLayerinstead of anMTKViewhere, for reasons I'll get into near the end of this post.
Our custom layer looks like this:
class CustomCAMetalLayer: CAMetalLayer {
    private var renderer: Renderer!

    override init() {
        super.init()
        self.device = MTLCreateSystemDefaultDevice()!
        self.renderer = Renderer(device: self.device!)
        self.setNeedsDisplay()
    }

    /// Block the current thread until this layer has a drawable ready.
    private func blockRequestingNextDrawable() -> CAMetalDrawable {
        var drawable: CAMetalDrawable? = nil
        while (drawable == nil) {
            drawable = self.nextDrawable()
        }
        return drawable!
    }

    override func display() {
        let drawable = self.blockRequestingNextDrawable()
        self.renderer.draw(drawable: drawable)
    }
}

class MetalView: UIView {
    override class var layerClass: AnyClass {
        return CustomCAMetalLayer.self
    }
}
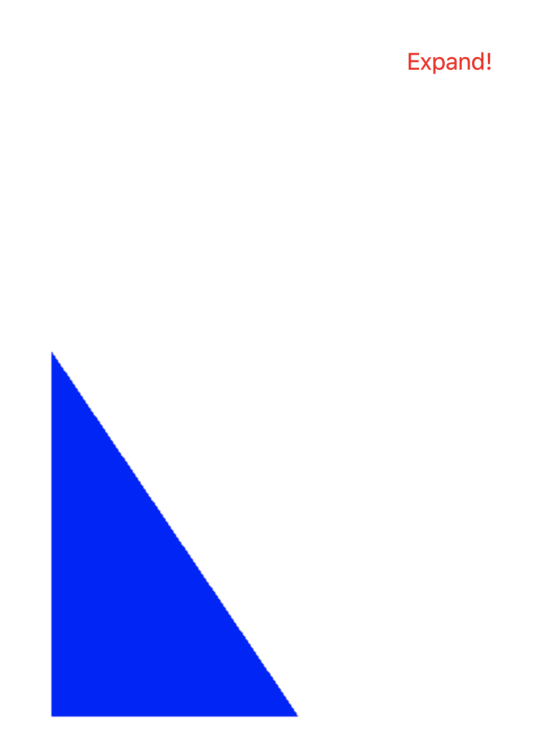
We set up our renderer in init, wait for a drawable to become available, and use our renderer to draw the triangle. The renderer code is more verbose since Metal requires quite a lot of code to set up a command queue, vertex buffers, etc, but you can view the code here if you like - it creates a buffer of three vertices for the points of the triangle, and the fragment shader shades them blue.
CALayer animations
In order to implement our triangle's scale-up animation, we need to talk more about CoreAnimation.
CoreAnimation is the framework that powers CALayer (used to implement UIView). Changes in a CALayer (like setting a new position or background color) are initiated by changing the layer's properties.
Many layer properties (you can see a list here) are animatable, which means that when they're changed, CoreAnimation will interpolate between the old value and the new value to animate the change. If you've ever tried to change the background color of a CALayer directly (using backgroundColor), you might notice that the change isn't instant - there's a subtle fade. Animatable CALayer properties all have default, "implicit" animations.
Note: layers which back
UIViews don't have these implicit animations by default sinceUIViews don't provide an action through their layer delegate method. More on this later.
We'll add our triangleScale as a custom layer property - we want this property to animate between 1 and 2 to double the size of the triangle.
class CustomCAMetalLayer: CAMetalLayer {
    // ...
    var triangleScale: CGFloat

    override init() {
        self.triangleScale = 1
        // ...
    }

    override func display() {
        self.renderer.triangleScale = Float(triangleScale)
        // ...
    }
}
Our button callback sets the new value:
@objc private func didTapButton() {
    layer.triangleScale = 2
}
And when we run the app and click the button, we get...
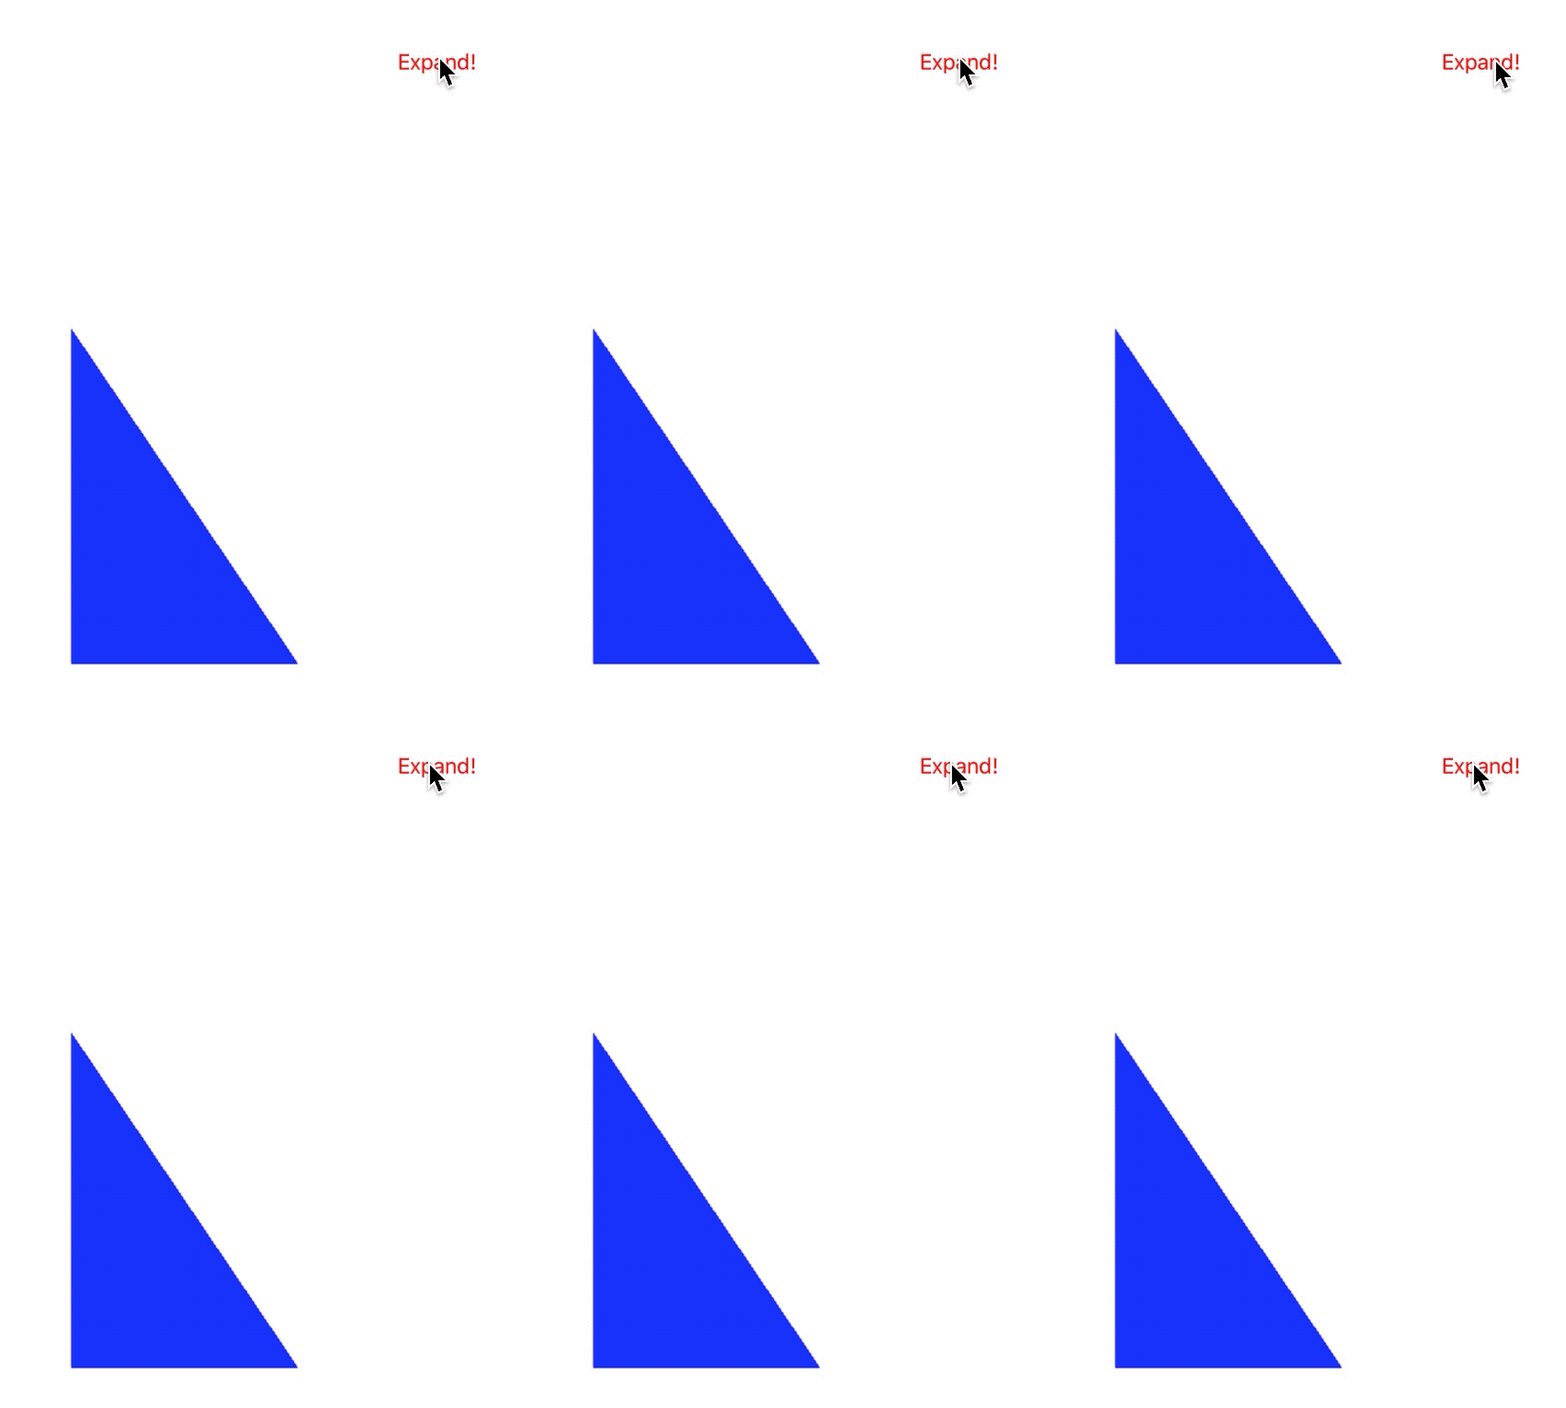
...nothing!
Customizing layer animations
Turns out, custom CALayer properties don't come completely for free. I haven't been able to find an official Apple reference on this, but there are several articles online about how to implement them - I'd recommend this objc.io article and this talk from Rob Napier, but I'll try to summarize here.
In order for CoreAnimation to manage our custom layer properties, they have to be Objc @dynamic properties. Declaring an @dynamic property in Objc tells the compiler that the property implementation will be managed dynamically - in this case, since we're a subclass of CALayer, CoreAnimation will manage this property for us, and we don't have to declare getters or setters, or handle initializing the property. (Learn more about @dynamic in the Objective-C reference.)
The dynamic nature of how CALayer handles property animations is why we need to use a CAMetalLayer instead of an MTKView - if we were to declare these properties on a view subclass instead of a layer subclass, they wouldn't be automatically handled in the same way.
There's another wrinkle though - Swift doesn't support managing dynamic properties in the same way. There's a dynamic keyword in Swift, but that specifies that function calls should use Objc-style dynamic method dispatch, not that property implementations should be managed dynamically.
@dynamic is a mechanism in Objc that just doesn't exist in Swift. Luckily, there's a way to get around it - @NSManaged.
Dynamic properties in Swift
The @NSManaged property modifier is used for Core Data, but its effect is the same as Objc's @dynamic - it defers implementation of the property getters and setters. If we declare our layer property as @NSManaged, CALayer will be able to manage its getters and setters! Our new code looks like:
class CustomCAMetalLayer: CAMetalLayer {
    // ...
    @NSManaged var triangleScale: CGFloat

    override init() {
        // ...
        self.triangleScale = 1
    }

    override func display() {
        self.renderer.triangleScale = Float(triangleScale)
        // ...
    }
}
Now that we've declared our property dynamically, the last step is to tell CoreAnimation that we want the layer to be redisplayed when the property changes. We do this by overriding needsDisplay(forKey:).
override class func needsDisplay(forKey key: String) -> Bool {
    if key == "triangleScale" {
        return true
    }
    return super.needsDisplay(forKey: key)
}
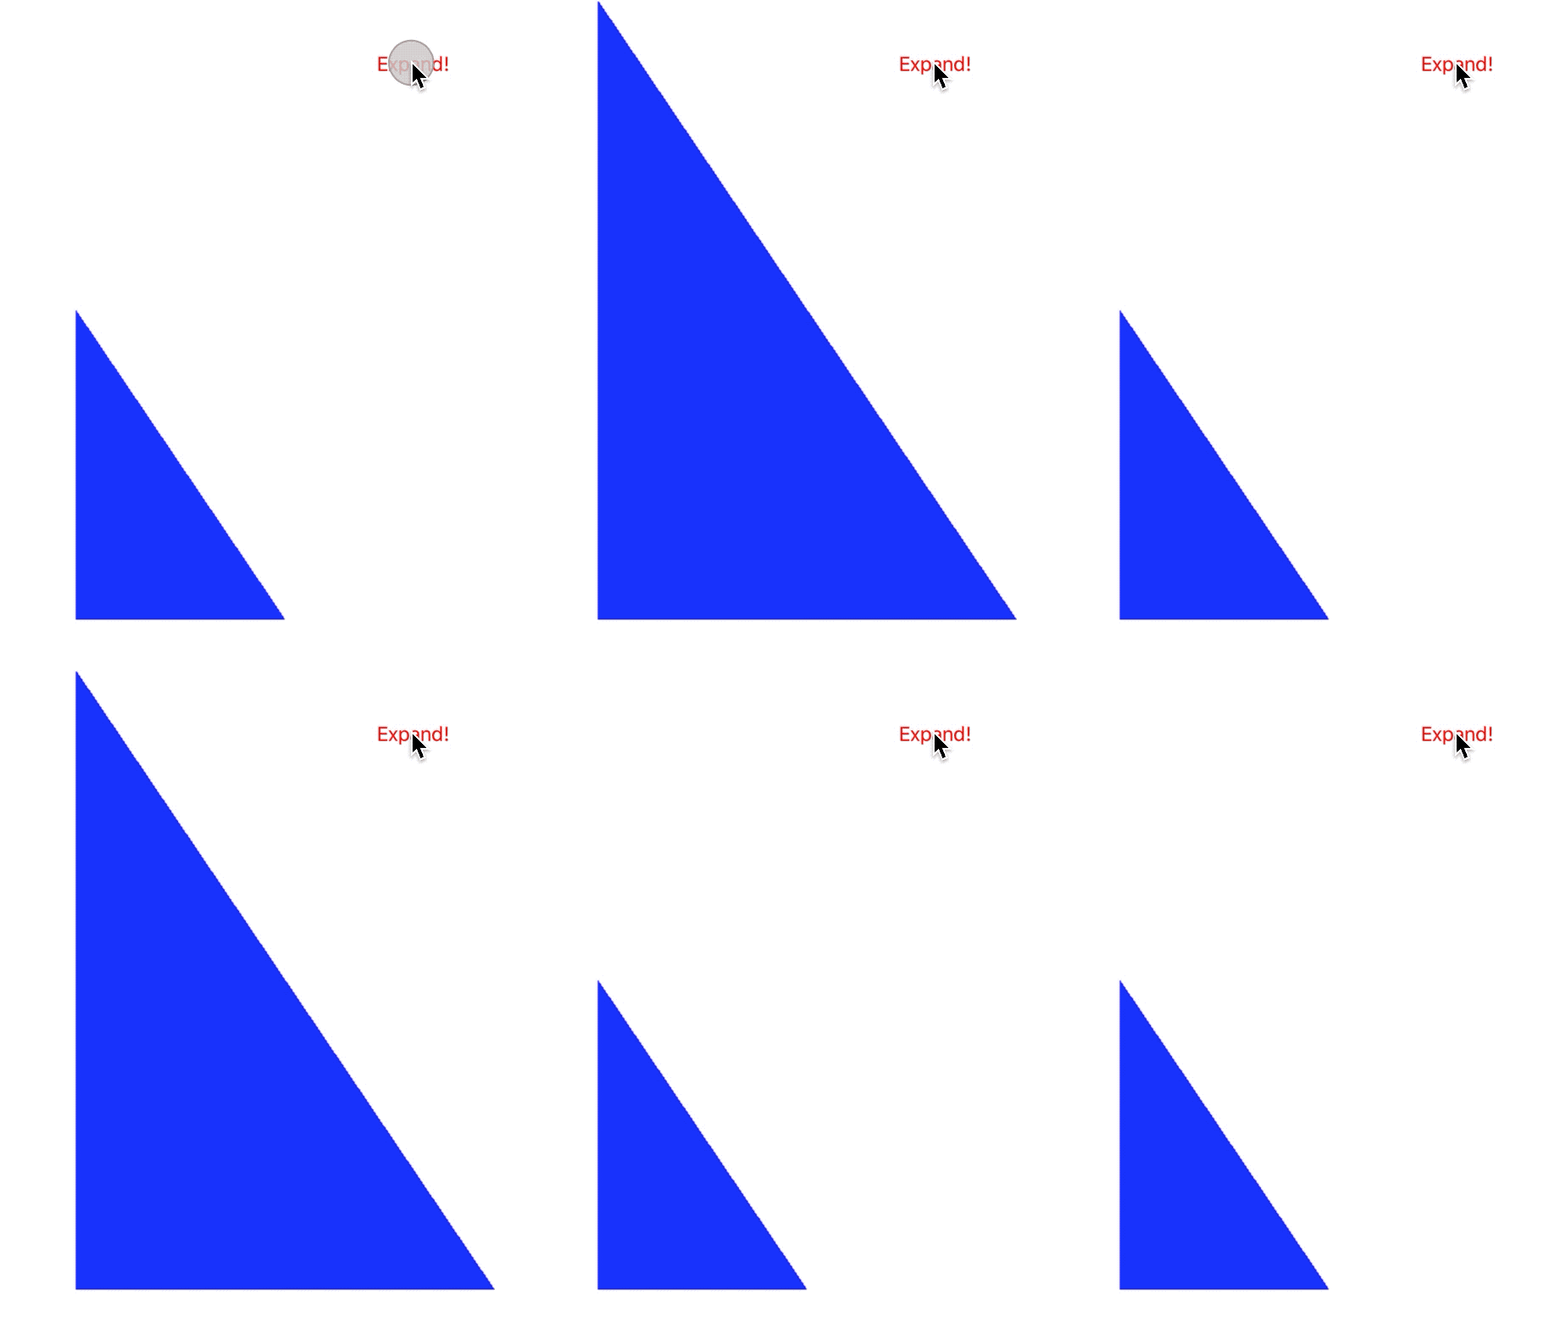
We have a triangle that changes scale! The only thing left is to actually implement the animation.
Using presentation layers
In CoreAnimation, each layer is actually composed of a "model" layer, which represents the current set of non-interpolated properties, and a "presentation" layer, which represents the layer's current state as it appears on screen. Copies of the model and presentation layers are accessible through CALayer's model() and presentation() methods.
As an example: let's say we added an animation for our triangleScale, to take its value from 1 to 2.
The first thing we have to do is make sure our CALayer subclass knows how to be instantiated as a presentation copy - CoreAnimation will call init(layer:) for this.
override init(layer: Any) {
    super.init(layer: layer)
    guard let layer = layer as? CustomCAMetalLayer else {
        return
    }
    self.renderer = layer.renderer
}
Then we add an explicit animation:
let animation = CABasicAnimation()
animation.keyPath = "triangleScale"
animation.fromValue = 1
animation.toValue = 2
animation.duration = 0.25
self.metalView.layer.add(animation, forKey: "some-key")
And a print in our layer's display():
let modelScale = self.model().triangleScale
guard let presentationScale = self.presentation()?.triangleScale else {
    return
}
print("model: \(modelScale), presentation: \(presentationScale)")
We'll get the following output:
model: 1.0, presentation: 1.0053806598298252
model: 1.0, presentation: 1.1318122893571854
model: 1.0, presentation: 1.2192756980657578
model: 1.0, presentation: 1.2894128262996674
model: 1.0, presentation: 1.363368809223175
model: 1.0, presentation: 1.4336175322532654
model: 1.0, presentation: 1.5070415139198303
model: 1.0, presentation: 1.577137529850006
model: 1.0, presentation: 1.649360716342926
model: 1.0, presentation: 1.7197566032409668
model: 1.0, presentation: 1.7918232679367065
model: 1.0, presentation: 1.8647624254226685
model: 1.0, presentation: 1.9373475313186646
model: 1.0, presentation: 1.0
model: 1.0, presentation: 1.0
The model layer never changes, and the presentation layer's triangleScale is automatically interpolated from 1 to 2 - but changes back to 1 after the animation ends, since CoreAnimation starts using the model value again when the animation ends. Before we see the triangle growing, we'll have to fix this interpolation issue.
Custom animatable properties
I noted before that with CoreAnimation, animatable layer properties have default animations that apply when you change the property. We can define our own animation by returning a value from the action(forKey:) class method:
override func action(forKey key: String) -> CAAction? {
    if key == "triangleScale" {
        let animation = CABasicAnimation(keyPath: key)
        animation.fromValue = self.presentation()?.triangleScale
        return animation
    }
    return super.action(forKey: key)
}
Note: specifying the fromValue here is important, but other animation properties (duration, timing function, etc) will be inherited from the current
CATransaction.
If we specify an action, we don't need to define an animation anymore - CoreAnimation will automatically add the animation we defined when the layer's property changes. Adding the animation is now:
guard let layer = self.metalView.layer as? CustomCAMetalLayer else {
    return
}
layer.triangleScale = 2
Our model layer stays at 2 while the presentation layer's value is interpolated all the way there.
model: 2.0, presentation: 1.0
model: 2.0, presentation: 1.0715526789426804
model: 2.0, presentation: 1.1949102729558945
model: 2.0, presentation: 1.27173313498497
model: 2.0, presentation: 1.3447068929672241
model: 2.0, presentation: 1.4154288470745087
model: 2.0, presentation: 1.4875067472457886
model: 2.0, presentation: 1.5570306777954102
model: 2.0, presentation: 1.628233015537262
model: 2.0, presentation: 1.7017306685447693
model: 2.0, presentation: 1.771639108657837
model: 2.0, presentation: 1.8431110382080078
model: 2.0, presentation: 1.9160330295562744
model: 2.0, presentation: 1.9892664551734924
model: 2.0, presentation: 2.0
The last step
We've got our presentation layer set up to interpolate the triangle's scale, so the last step is to pass it to the renderer. We'll change our layer's display function to use the presentation value:
override func display() {
    guard let effectiveScale = self.presentation()?.triangleScale else {
        return
    }
    self.renderer.triangleScale = Float(effectiveScale)
    let drawable = self.blockRequestingNextDrawable()
    self.renderer.draw(drawable: drawable)
}
Specify a few parameters for the animation:
CATransaction.begin()
    CATransaction.setAnimationDuration(2)
    CATransaction.setAnimationTimingFunction(.init(name: .easeInEaseOut))
    layer.triangleScale = 2
CATransaction.commit()
And tada! 🎉

More complicated animations
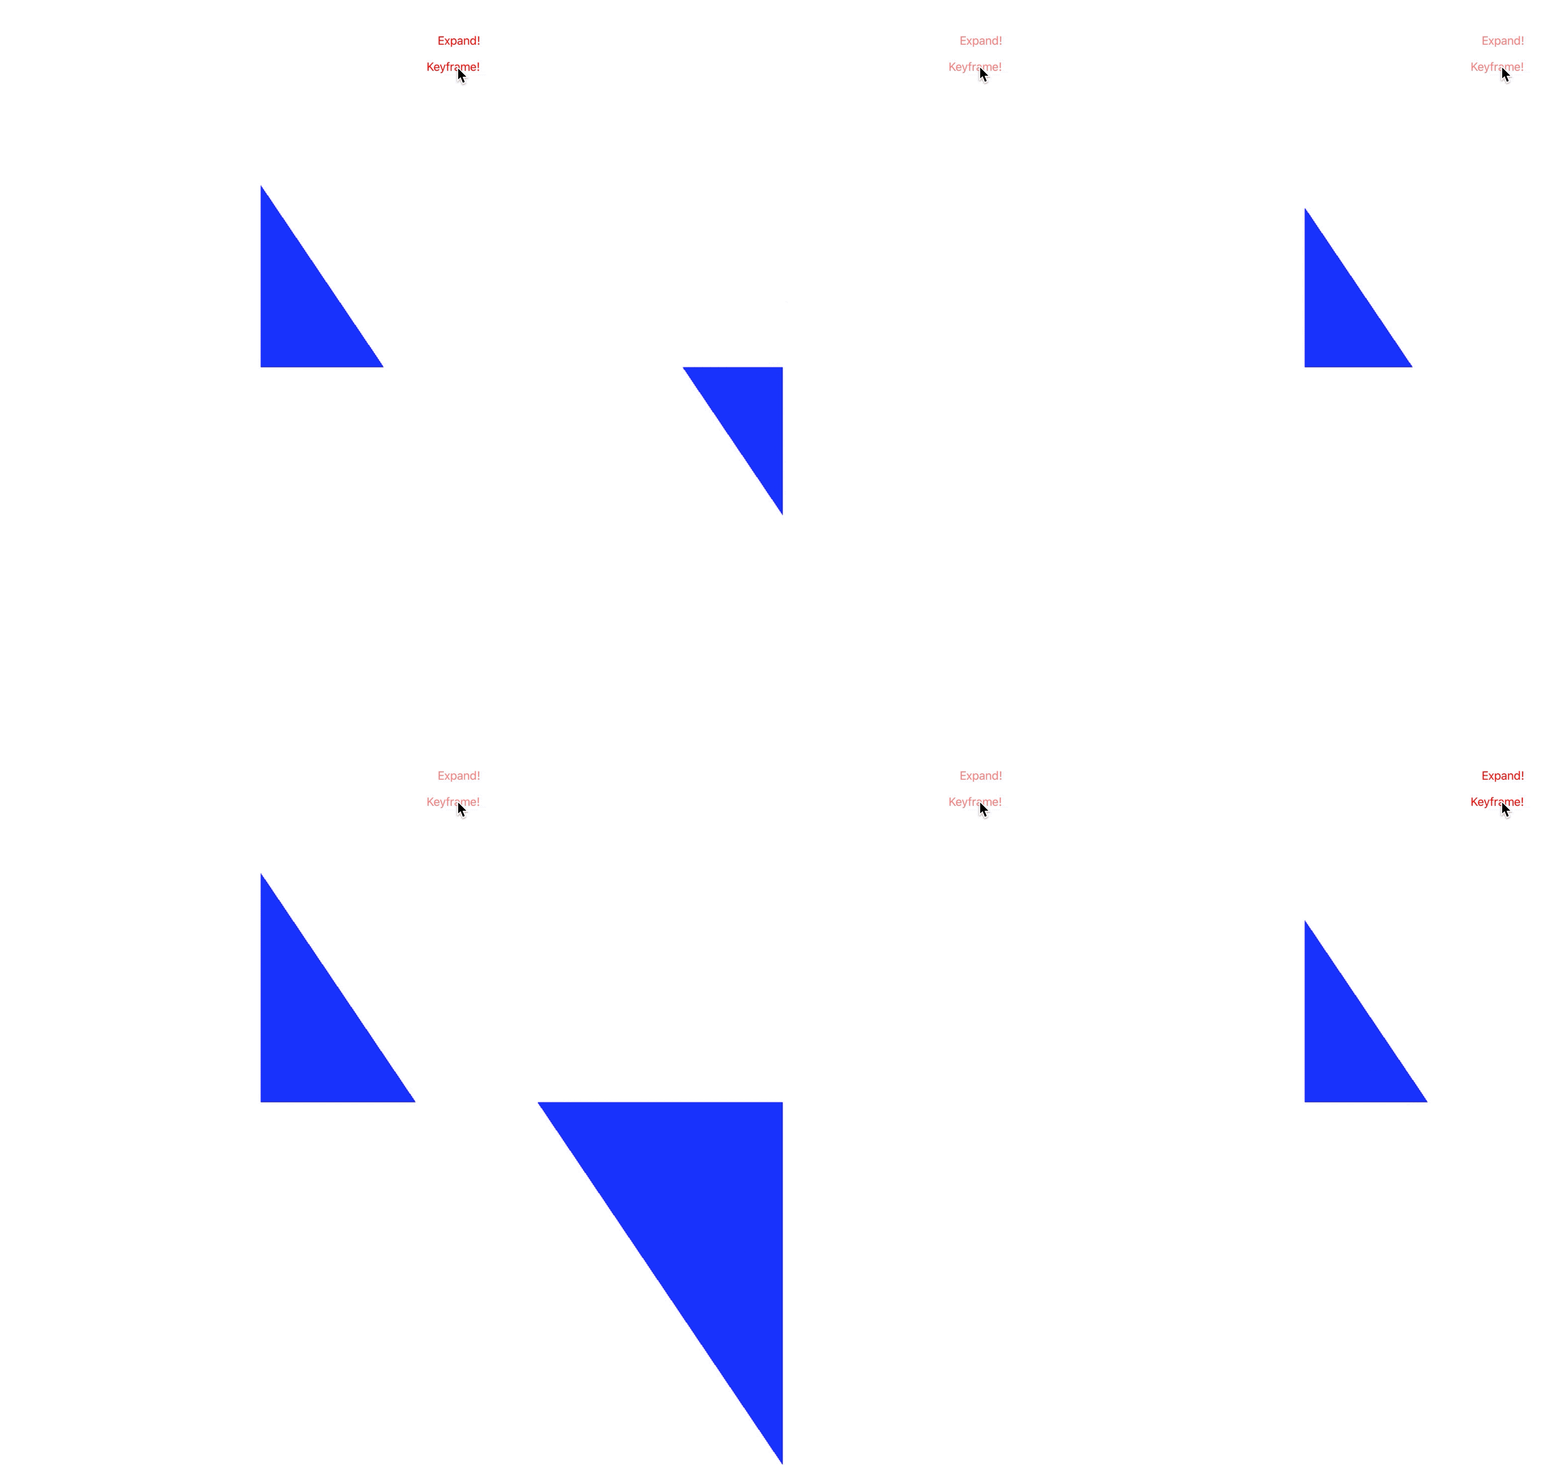
Using CALayer properties to implement our animations means that we can hook into the entire CoreAnimation ecosystem - our triangleScale is now every bit as animatable as every other CALayer property. One benefit is that we get keyframe animations with no extra work! Let's make the triangle jump around a bit:
let layer = self.metalView.layer as! CustomCAMetalLayer
let animation = CAKeyframeAnimation()
animation.keyPath = "triangleScale"
animation.values = [
    layer.triangleScale,
    -1,
    2,
    -2,
    layer.triangleScale
]
animation.keyTimes = [0, 0.2, 0.5, 0.8, 1]
animation.timingFunctions = [
    .init(name: .easeInEaseOut),
    .init(name: .easeInEaseOut),
    .init(name: .easeInEaseOut),
    .init(name: .easeInEaseOut)
]
animation.duration = 8
self.metalView.layer.add(animation, forKey: "expandScale")
Conclusion and further reading
CoreAnimation was always one of the more confusing parts of iOS development to me, but hopefully this post has helped to pull back the covers a bit on how the system works - going through these examples has certainly helped me understand how to make Metal play nicely with other parts of the iOS ecosystem.
There's a lot of great Apple and non-Apple content written about custom CALayer animations not related to Metal that I'd recommend checking out:
Noah Gilmore
I'm Noah, a software developer based in the San Francisco Bay Area. I focus mainly on full stack web and iOS development
- 💻 I co-founded Replo, a no-code platform for e-commmerce
- ✍️ You can read technical posts on my blog
- 📱 I wrote an app which lets you create transparent app icons called Transparent App Icons
- 🧩 I made a puzzle game for iPhone and iPad called Trestle
- 🎨 I wrote a CoreImage filter utility app for iOS developers called CIFilter.io
- 👋 Please feel free to reach out on Twitter / 𝕏